Guest Post by Oliver.
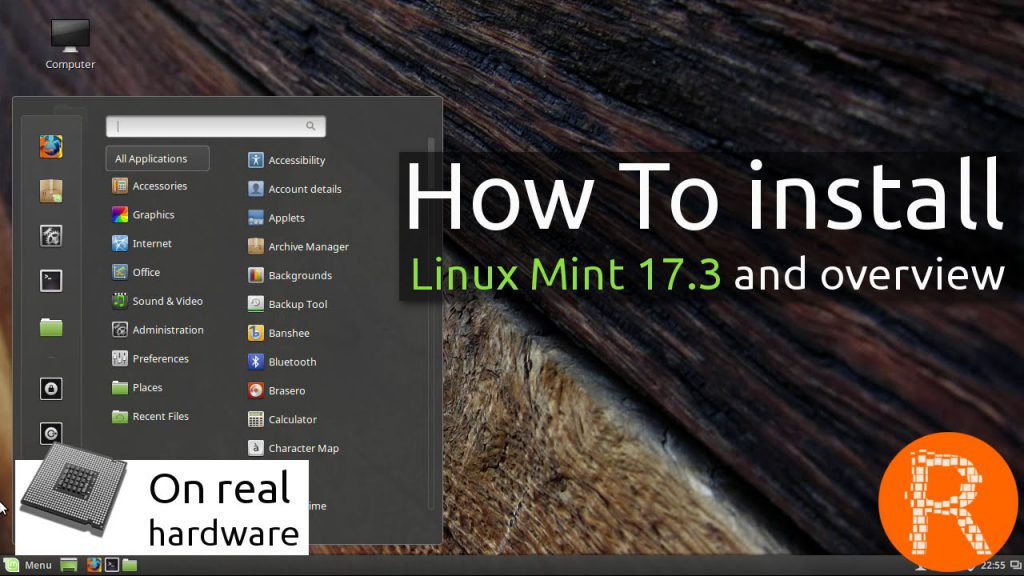
Linux Mint is one of the most powerful and elegant Operating system. The purpose of launching a Linux Mint in the market is to provide the modern and comfortable OS which is easy to use for every user. The best thing about Linux Mint is that it is both free and Open Source. Also, it comes at the third position after Microsoft Windows and Apple Mac OS. Due to its simplicity and clean design, it is worth for the user. Many users prefer it because it works well on low end machines or old hardware components. The latest version of Linux Mint is 17.3 and one can easily download it from the Search Engines. The process of Installing Linux Mint on your Windows PC is quite simple. Let’s see how we can install the Linux Mint on our System.
Go ahead and get started.

Step 1: The first step which we have to take is – “Preparing the Installation DVD”.
-
Take the Backup:
For this, the first thing that you need to do is to take the backup of all your important data stored in your system. This is because, while installing the Linux Mint on the existing OS, the probability of data loss is much high. To avoid such loss, you can take the back up of your meaningful data. To avoid such loss, you can take the backup of your meaningful data. After taking the backup, download the Linux Mint ISO which is a file which can be burn to a DVD. The latest version of Linux Mint is 17.3 “Rosa” which is available at Linux Mint Website. Once you visit this page, you can get the various options displayed on the Screen, but the most widely used version is “Cinnamon” (This is the basic and default desktop style for Linux Mint. There are also some other options available on the page, which is suitable for the advanced users). You will have to decide that which version you want to use: 32-bit or 64-bit and which version is correct for your system. Refer this guide, which explains how to determine what kind of hardware you have in Windows and guide for Ubuntu Users.
• As the size for downloading is quite big, therefore, for downloading it, the speed of your Internet connection must be considerably high.
-
Copy the ISO File to DVD:
After selecting the version, the next step to be taken is to copy the ISO File to DVD:
For copying the ISO file to DVD, Image Burning Program is required. The most famous program is: ImgBurn, easily available at download 1, download 2, etc. After copying the data, now you can burn the disc.
Key Points: Linux Mint 17.3 “Rosa” is the latest version available in the Market. The most important thing while downloading is to check whether your internet connection is working good. You have two options of the most widely used version “Cinnamon” – 32-bit or 64-bit. Choose the best one which suits for your system.
Step 2: The Second step is to “Install the Linux Mint”.
To begin, check the basic needs for the proper installation. The basic needs to be checked are:
-
Check the Free Space: First of all, you need to check whether you have a sufficient space for downloading or not. The minimum requirement is – You must have at least 3.5GB of your free disk space.
-
Check the Internet connection: Whether you have active internet connection or not.
-
Check the Power Socket: If you are using your laptop, ensure that it must be connected with the power cable during the installation period.
After checking the basic needs, we have to proceed with the priority setting of booting, i.e., to run the Linux Mint disc, you just have to boot from the DVD drive instead of the Hard drive. After installing, now we can begin our journey with the installation process. Install the Linux and do modifications in the settings as required by you. You can also select the installation type, as here, you get two options which are mentioned below:
-
Remove the Disk and Install Linux Mint: This option will let you delete the complete data of your existing OS before installing the Linux Mint. If you want only Linux Mint as your OS in the system, then opt for this option. It will delete all the data and the existing OS.
-
Other Option: This option will create a free space for installing the Linux Mint partition. This will allow Linux Mint to have access with the existing OS. One can also choose the size of the Linux Partition after selecting this option.
After selecting any option mentioned above, now you have to select the location for the hard drive where you want to install it.
Remember!
-
The minimum requirement for Linux Mint partition space is 6 GB, and the swap partitions should be at least 1.5 times the amount of installed RAM.
-
If you opt for the first option, the complete selected disk will be deleted during the installation process.
During the process of Installation of Linux Mint, you have to Create a User, where you have to fill all the entities asked. These entities will become your admin details, which can be asked whenever you do modification in your system. These entities will automatically create Username as well as Machine name and can be automatically be filled while you are filling your name in the entry.
Note: The “Machine Name” is the name which your computer will display to the other computers on the network.
Now, after all these procedures, you have to wait for a while till the Linux will start copying all the files. Once this completes, the installation will begin and the hardware will be configured. This will take some time especially for old systems.
Now, press the “Restart” Button.
Key Pointers:
-
Check all the basic requirements while installing the Linux Mint.
-
Check whether you have a perfect internet connection as it takes time for its installation. You can also select the type of installation required for downloading the Linux Mint. Also, remember the basic criteria which has to be followed for the proper installation.
Step 3: The last and the final step is to “Configure the Linux Mint”.

The most important thing while configuring the Linux Mint is “Booting into Linux Mint”. Here, you can get two options for booting. First one is, it depends upon which option you have opted; you have been provided an option to choose from a list of options of installed OS or your system will directly have booted to Mint. Secondly, you can manually start up the Linux Mint and log in to your account to get the desktop.
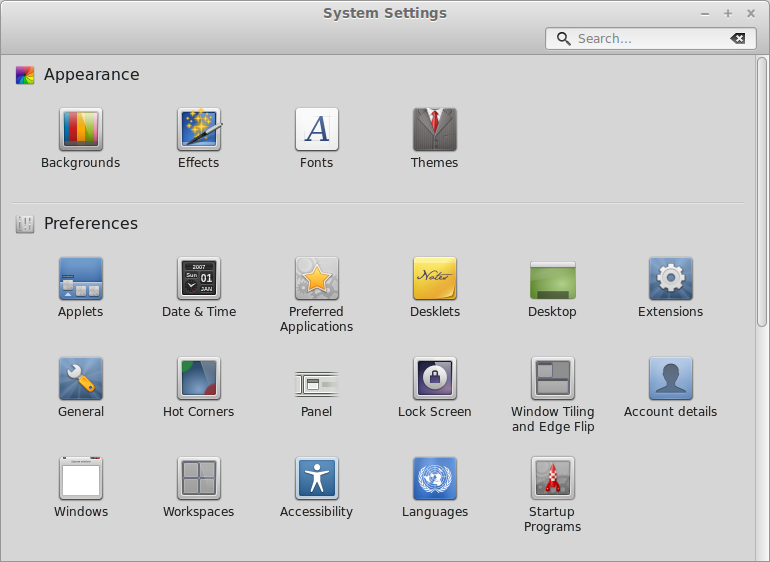
After selecting this, you can customize your Linux OS by changing the beautiful wallpapers, installing the additional programs which are mostly free but some are little paid.
Booting into Linux Mint is the most important task. After configuration, you can modify your screen by just applying the beautiful wallpapers. You can also enjoy the applications supported by the Linux Mint. For the Game Lovers, you can easily play the games in the Mint.
Enjoy using the latest version of Linux Mint!!!
Author Bio:
Data recovery expert at Stellar Data Recovery, recovering data since 1993. Playing around with hard drives, Linux OS issues and suggesting fixes is among the major activities I love. Share my knowledge and expertise over different media channels from time to time or as soon as find a new one.
Popular Posts:
- None Found
