Article by James Hawkins
As we all know, Nmap (Network Mapper) is a stealth port scanner widely used by network security experts (including forensics & Pen-testing Experts). In this article we’ll see the different types of Nmap Scans, its techniques, understanding the purpose and goals of each scan , its advantages or disadvantages over other scanning tools, which could be better at evading firewalls & IDS (To a certain extent) and much more. In this first part, I have made my best to explain the basic scanning techniques, Host discovery options, port scanning options, techniques used in detecting Operating system & services running on the system.
i also give Nmap as already installed on your system.
Let’s start with one of the most basic and default scan, the one without using any parameters.
Open up the terminal, in Ubuntu ctrl+alt +t
$ sudo nmap 192.168.1.34 |
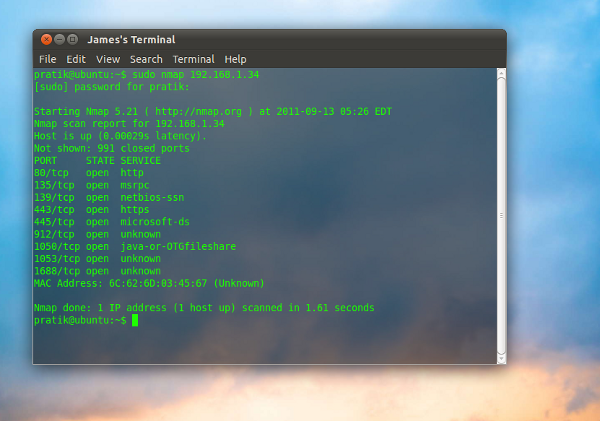
This is a basic scan of the local IP address 192.168.1.34, we use sudo to gain administrator privileges, and then we give the target to Nmap.
Moreover, you can also scan multiple ip address at once, so for example you can give:
$ sudo nmap 192.168.1.33 192.168.1.36 192.168.1.38 192.168.1.39 |
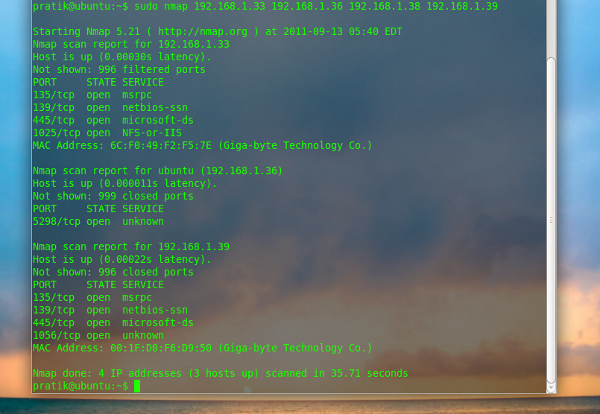
Note there is a space between each complete ip address, in above example we have used 4 target ip addresses to do the scan at once
Discovery
Before scanning a target port, Nmap will attempt to send ICMP echo request to see if the remote host is “alive”. This can save time when scanning multiple hosts as nmap won’t waste time attempting to probe hosts that are offline.
Don’t ping -PN
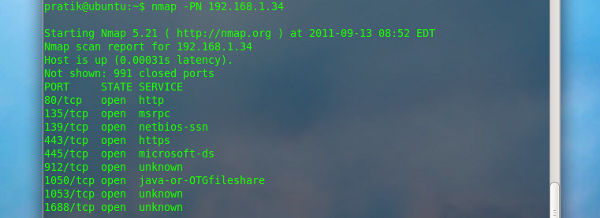
With this option Nmap simply don’t ping the target/s
$ sudo nmap -PN 192.168.1.34 |
Only Ping scan -sP
This is used to perform simple ping scan of the specified host
$ sudo nmap -sP 192.168.1.34 |
This scan is useful when you want to do a quick search of the target network to see which hosts are online without actually scanning the targets for open ports

ARP Ping scan
The –PR option instructs nmap to perform an ARP (Address Resolution Protocol) ping scan on the desired target ip.
$ sudo nmap –PR 192.168.1.3 |
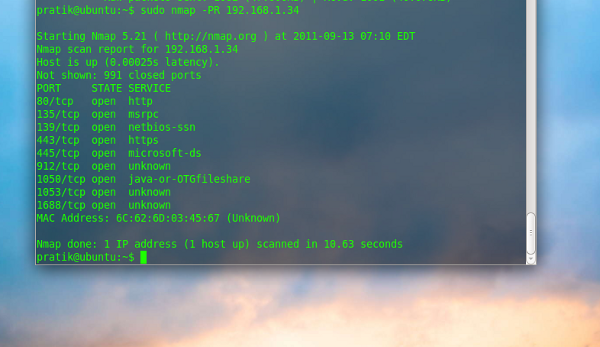
-PR option is automatically implied when scanning a local network. This type of discovery is much faster as compared to other ping methods . it has the added benefit of being more appropriate because LAN host can’t block ARP request.
NOTE: this type of scan doesn’t work on targets which aren’t in your subnet range.
Port scanning options
Performing Fast scan:
The –F option instructs nmap to perform a scan of only the 100 most commonly used ports
sudo nmap –F 192.168.1.34 |
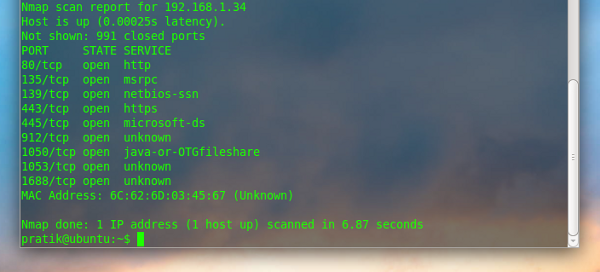
Nmap scans the top 1000 commonly used ports by default. The –F option reduces that number to 100. This can drastically increase your scanning speed, while still checking the most commonly used ports.
Scan only specific ports
The -p option is used to instruct nmap to scan the specified port(s)
To check if the telnet port is open:
sudo nmap –p23 192.168.1.34 |

The above example demonstrates using –p to scan port 23.
You can also scan more ports by adding comma (,) between each port or providing the scan a port range, you can indicate this with a –
$ sudo nmap –p 22,25,53 ,80-200 192.168.1.34 |
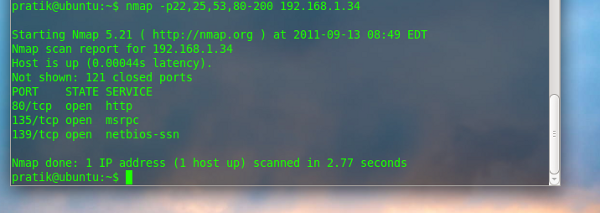
In this example the –p option is used to scan ports 22,25,53 and range from 80 up to 200
Note: The output shows only the open ports.
Scan Ports by name
The -p option can also be used to scan the ports by name
$nmap -p smtp,ftp 192.168.1.34 |

The above example demonstrates how to do the scan for status of the ports SMTP and FTP by using -p option with the name of the ports.
Scan all ports
The -p “*” option is a great option to scan all 65,535 TCP/IP ports on the target machine.
$nmap -p “*” 192.168.1.34 |
Choose between TCP and UDP protocol
And at last with the option -p we can also choose to scan some ports for TCP or UDP protocol only
$nmap -p T:3000-4000 192.168.1.34 |
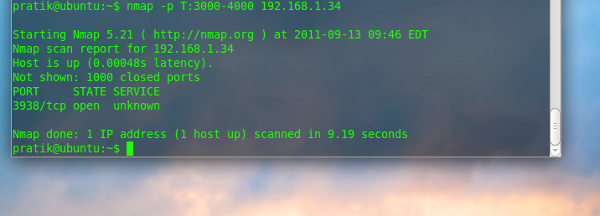
In the above screen shot it’s specified a port range with (T) that implies TCP only, whereas U:60000- could also be added, in that case it would have implied only the UDP protocol
Operating system and service detection
The -O parameter enables Nmap’s O.S Detection feature in the scan
nmap -O 192.168.1.34 |
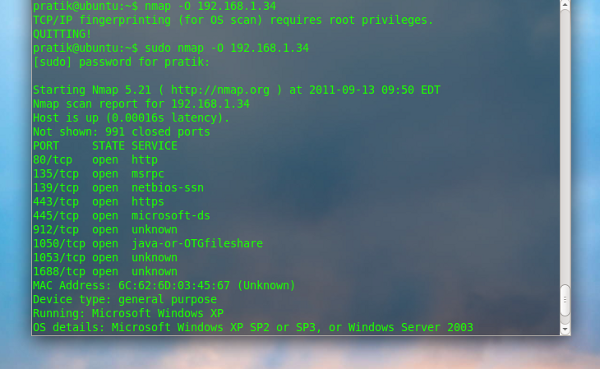
Attempt to guess an unknown O.S
If Nmap is not able to identify the Operating system, you can force it to guess by using the option –osscan-gues
$ nmap -O – osscan-guess 192.168.1.1 |
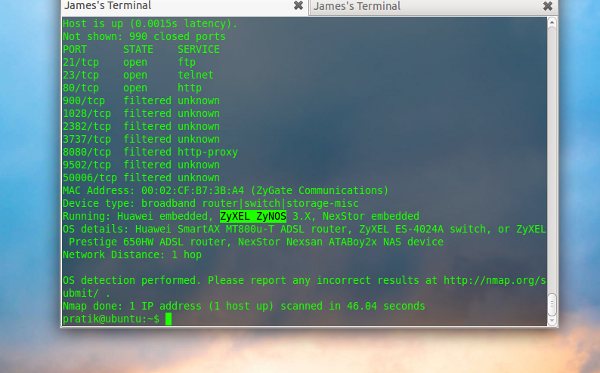
Service version detection
The -sV parameter is used to detect version of services
$ nmap -sV 192.168.1.34 |
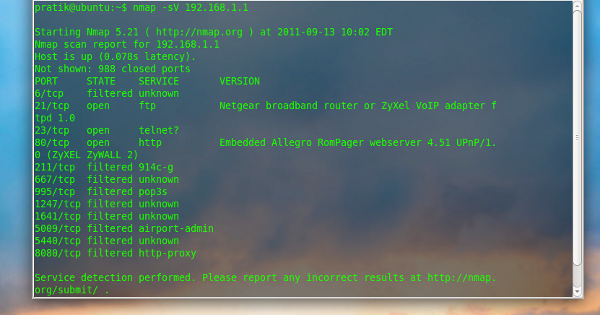
This finish the first part of this overview of the most used parameters of Nmap, stay tuned for part 2.
Popular Posts:
- None Found

Ciao vorrei farti una domanda ingenua.
Come faccio a fare una scansione di rete (della mia rete locale magari) che mi ritorni gli ip dei computer a me vicini??
Insomma una mappa della mia rete casalinga o di altre reti target
Magari nmap non è neanche il comando giusto…
Ciao,
puoi usare Nmap con l’opzione ping per vedere quali macchine rispondono, o con l’opzione Arp se condividete lo stesso segmento di rete.
Esempio con Arp:
Se il tuo PC è sulla rete 192.168.0.0 puoi usare il comando:
nmap -PR -oN nmap-arpscan.txt 192.168.0.0/24
Che farà lo scan da 192.168.0.1 a 192.168.0.255 e metterà il risultato nel file nmap-arpscan.txt
Guarda anche qusto link: http://linuxaria.com/recensioni/network-scanner-linux?lang=it
Ciao
ops il commento che andava qui è il n°2
Grazie mille.
Poi sono capitato anche sul link che mi hai suggerito adesso.
Il tuo blog si sta rivelando davvero molto interessante.
Bene, mi fa piacere se si trovano soluzioni e risposte all’interno dei miei articoli.
Ciao
Guida potenzialmente interessante, ma davvero? Testo verde in shell semi-trasparente sull’azzurro?
Dai, in parallelo hai anche visita oculastica, se leggi tutto hai 10/10.
Che dire, io uso solo sfondo bianco e testo nero, semplice ma non mi fa accecare.
Ciao
Ciao tutti, si vogliono leggere piu di Nmap…
Nmap commands and scan types
James, I linked to you on that page.
-p “*” option doesnt scann all port,it scan nearly top 4239 ports.. -p- is a good option for scanning all 65.535 ports
Does anyone know what the nmap code of -PT scan?